DESIGN & PROTOTYPING
INITIAL DESIGNS
When brainstorming the design for this project, we initially wanted to have a standalone system (no clamp) and designed it to filter air horizontally. Upon further discussion, we decided to change the design from horizontal filtration to 360-degree filtration to ensure the air the students are breathing are constantly being filtered.
INITIAL DESIGN - HORIZONTAL FILTRATION

INITIAL DESIGN - HORIZONTAL FILTRATION EXPLODED VIEW

PROTOTYPE - 360 DEGREE FILTRATION

PROTOTYPE - 360 DEGREE FILTRATION EXPLODED VIEW


FINAL DESIGN
After more design and rework, we changed the plastic color to black for a slicker look. We also added a CAD model of the clamp and the platform to depict the entirety of our system.
A big change we made to the system is the addition of walls that separate the HEPA filter and the fan to encourage better airflow. We also added walls to isolate the battery from all the other inner components of the system. Additionally, we eliminated the use of the Arduino UNO. Finally, we added an additional fan guard with mesh in order to prevent students from inserting different objects into the fan and damaging the system.
MANUFACTURING

ELECTRICAL COMPONENTS
For the electrical components, we have a 25x25mm fan and a battery. The battery we chose is marketed to have short-circuit protection, over-charging protection, and over-current protection to greatly reduce the risk of fires.
The number of air changes per hour in a school classroom is recommended to be 6. Our fan provides the system with 11 air changes per hour, almost twice the amount recommended for classrooms.
MANUFACTURED PARTS


TESTING
ELECTRICAL TESTING
The main component we have tested so far is the battery. We ensured that the battery can last 35 hours (7 hours a day for 5 days) to mimic a schools week then tested how long the battery takes to be fully charged (7 hours). We also tested the sound level of the fan to see if we met our requirement of being less than 40 dB.


Battery Life Test
Battery Charging Test
Fan Sound Level Test
AIR QUALITY TESTING
After fully assembling our device, we wanted to test the air quality of air coming out of the device to ensure the device is filtering the air. We used an air quality monitor to measure the number of particles in the air before and after our device was turned on. As seen in the photos below, the air quality monitor before turning on our device was at moderate air quality and after our device was turned on, it changed to good air quality.
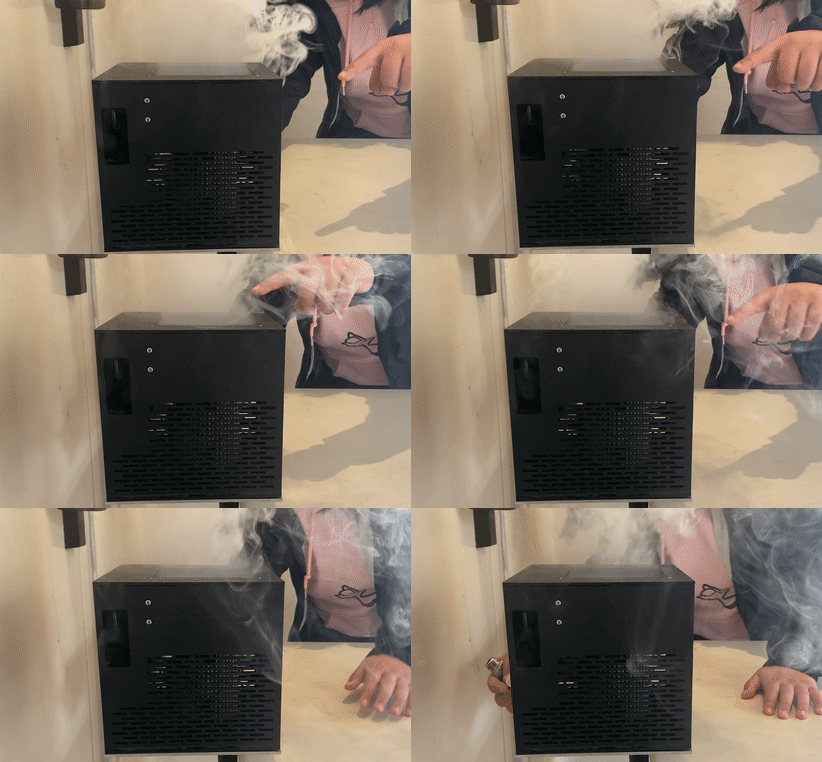
In the third picture below, used a smoke candle to track and ensure the airflow of the system goes in from the sides and comes out from the top. Evidently, the smoke candle does show that the unfiltered air does go in through the sides then emits the filtered air from the top.


Air Quality Before
Air Quality After
Smoke Candle Test

ANALYSIS
To ensure our device had adequate airflow through the air holes, through the HEPA filter, and out the top of the system, we performed an airflow simulation in Solidworks.
